


Just ordered a complete aquarium CO2 kit and it didn’t come with an aquarium atomizer? Or maybe you’re planning to buy an atomizer but not totally sure how it all works? No worries! I’ve put together this complete guide on aquarium CO2 atomizers to help you get started.
Overview of my aquarium CO2 atomizer guide:
- What is an aquarium atomizer and how does it work?
- Which aquarium atomizers are there?
- How to connect your aquarium atomizer?
- Aquarium CO2 atomizer vs reactor: which is better?
- Aquarium atomizer or diffuser: what to choose?
- CO2 atomizer cleaning and maintenance: how to do it?
- How to fix large bubbles in your CO2 atomizer?
- Conclusion
What is an aquarium CO2 atomizer and how does it work?
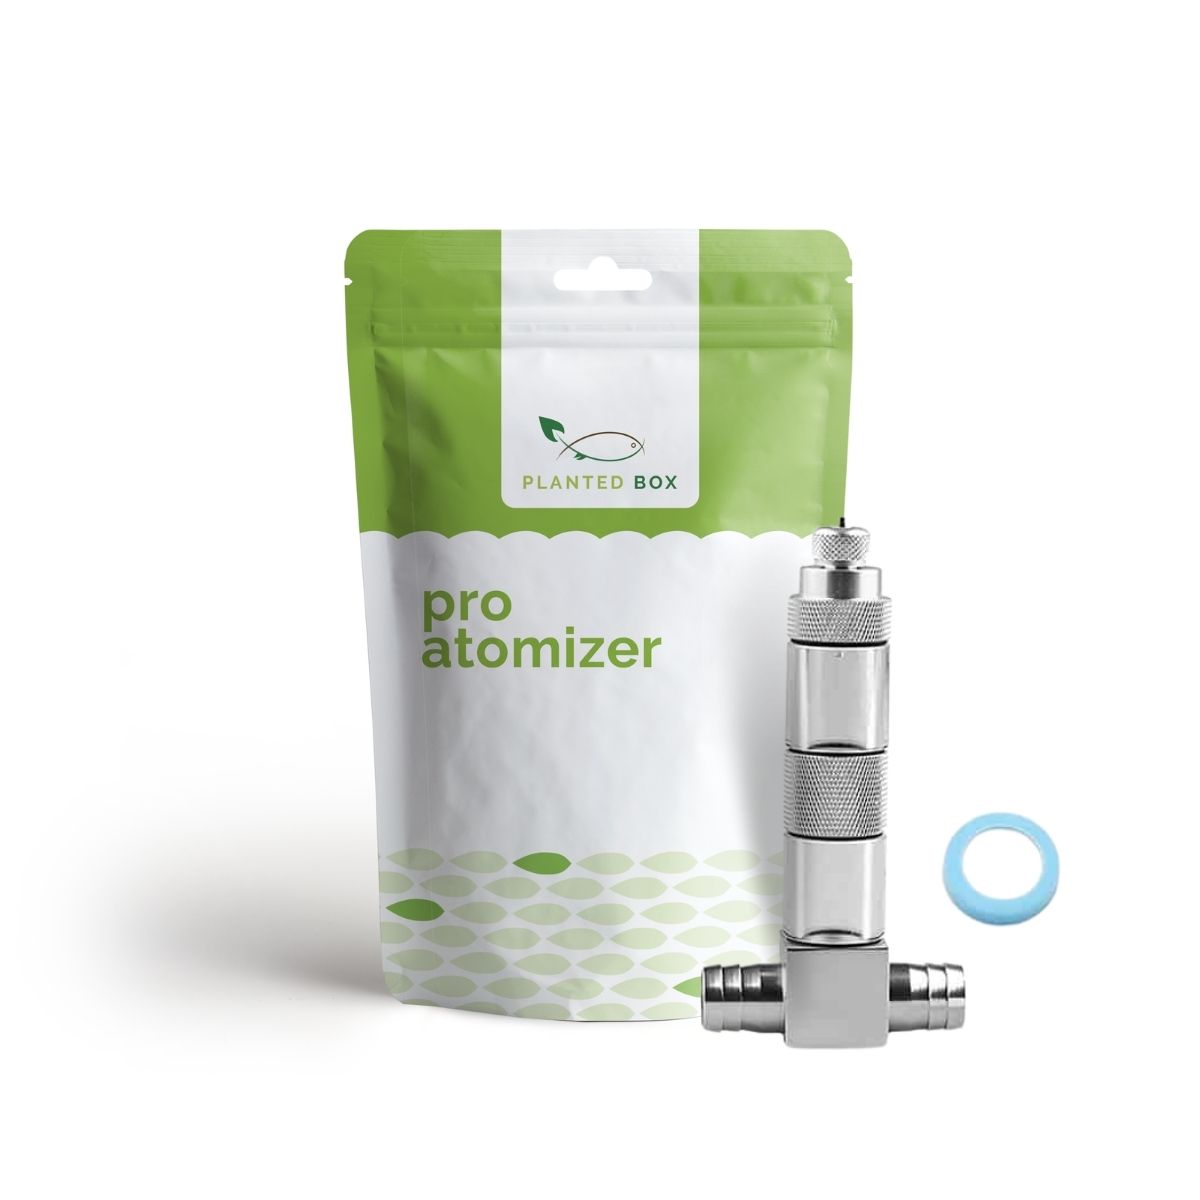
An aquarium atomizer works pretty much like a CO2 diffuser: CO2 is pushed under high pressure through a membrane by your CO2 system, creating small bubbles or a fine mist. The membrane itself can be made of different materials. For example, the Pro Atomizer and the External Atomizer from PlantedBox use different membrane materials, which affects how the CO2 is produced.
The External Atomizer creates a super fine mist, while the Pro Atomizer makes bubbles that are more like those from a CO2 diffuser.
Which aquarium atomizers are there?
There are 2 main types of aquarium CO2 atomizers:
- Internal atomizers
- External atomizers
Both have their pros and cons. An internal atomizer sits inside your tank, so it’s easier to see if it’s working properly, but it gets dirty faster and it’s visible. An external atomizer is mounted on the OUT hose of your external aquarium filter, so it’s hidden but gives you a bit less visual control.
At PlantedBox, there are currently 2 versions of external atomizers (internal ones are – for now – not available):
- The Pro Atomizer
- The External Atomizer
The difference between the two is mainly the membrane type, as mentioned above. The Pro Atomizer also has a built-in bubble counter and can be taken apart for cleaning.
How to connect your aquarium atomizer?
Here’s a diagram showing how to connect the PlantedBox Pro Atomizer. For the other model, the External Atomizer, the setup is basically the same except that you place it in a Y-shape (with the CO2 connection on top) instead of a T-shape like the Pro Atomizer.

As you can see, the aquarium atomizer (3) ideally sits on the OUT hose of the filter. Then, you have a CO2 tube that goes from your CO2 system (1) to a check valve (2), which is connected to the atomizer.
When the CO2 supply is opened, the CO2 atomizer chamber slowly fills up and pressure builds. Once the pressure is high enough, the CO2 is pushed through the membrane, creating fine bubbles or mist (depending on your model). This mist (or bubbles) is then carried along by the water flow of the external filter and mixes into your aquarium water.
BONUS TIP: place the aquarium atomizer as close as possible to your filter — that way the bubbles travel a longer distance before entering your tank, giving you a better CO2 solution!
Aquarium CO2 atomizer vs reactor: which is better?
I get this question a lot: should you use an aquarium CO2 atomizer or reactor?
Well, that mainly depends on two things:
- The size of your aquarium
- The power of your filter
If you have a large aquarium, let’s say over 300 liters, I definitely recommend checking out a CO2 reactor, like the PlantedBox Pro CO2 reactor. A reactor is basically 100% efficient, meaning all CO2 you add via your aquarium CO2 injection system actually dissolves.
That’s super handy for large tanks since you’ll need to add less CO2 overall compared to using an aquarium atomizer or diffuser.
Here’s a photo of my Pro reactor:
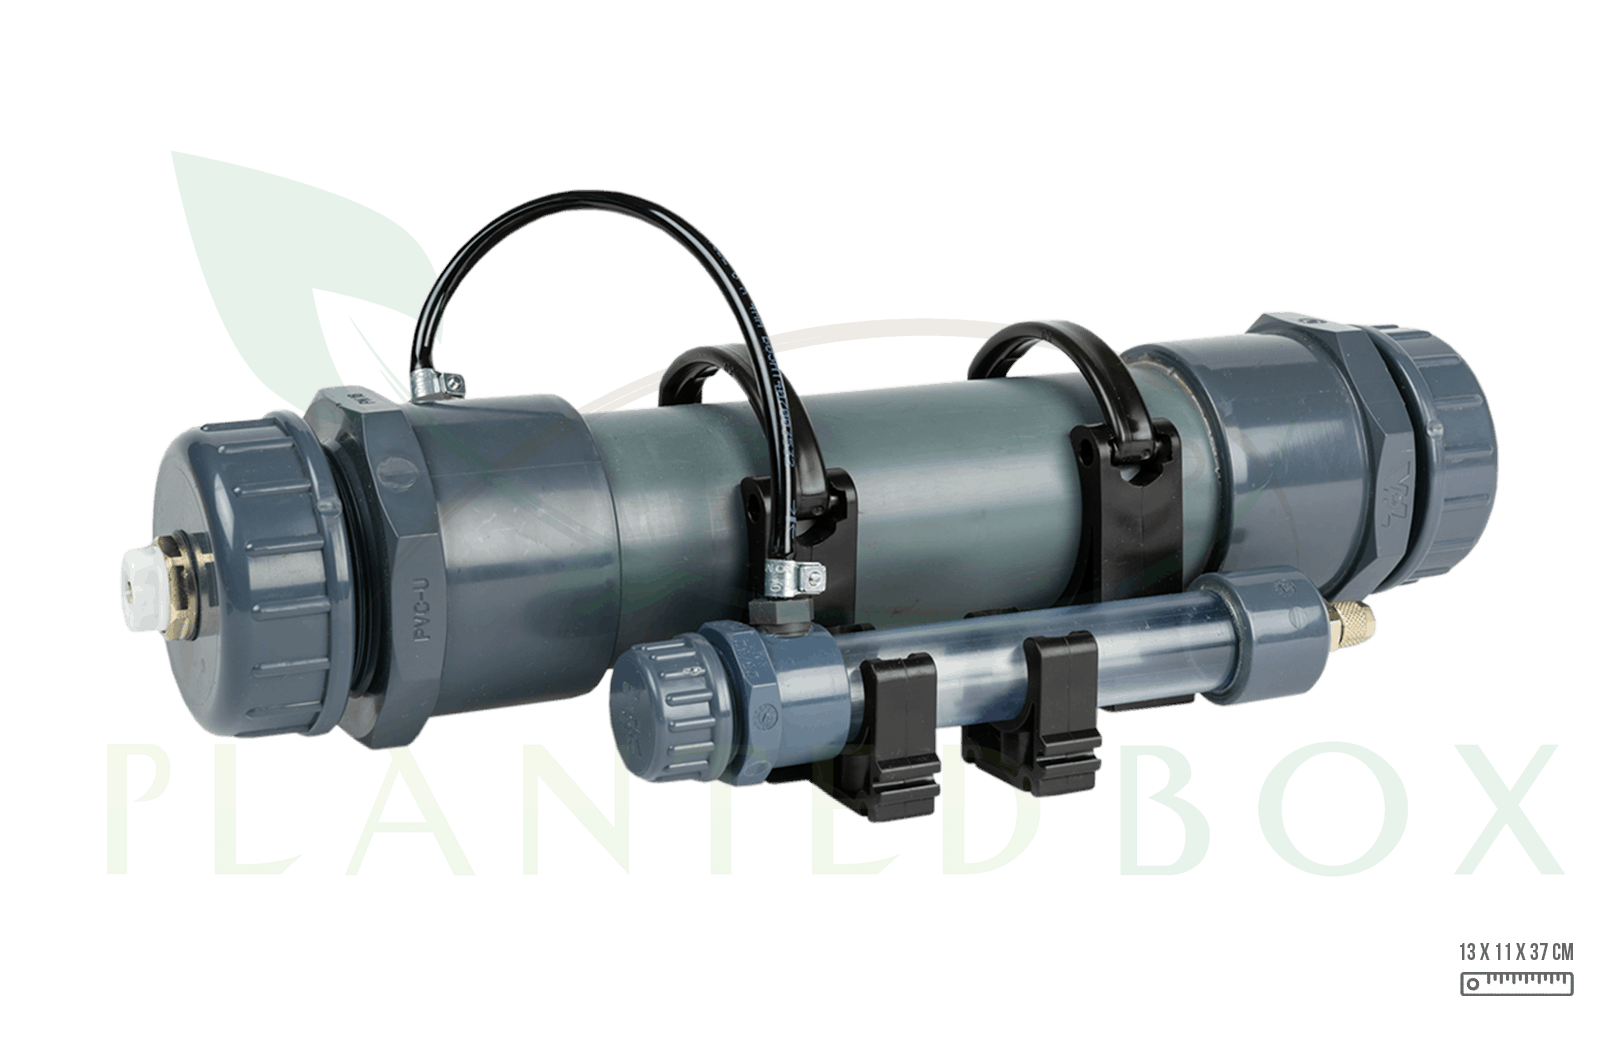
There’s a downside though: it can slow down your filter flow. That’s why it’s important to have a strong, well-maintained filter. I recommend a filter with a flow rate (liters per hour) of at least 5x your tank volume. So if you have a 300L tank, go for a filter with at least 1500 L/h.
Don’t have that? Then add a second filter just for the reactor, or simply use an aquarium CO2 atomizer. An atomizer doesn’t slow down water flow because it’s basically a hollow tube without bends 🙂
Aquarium atomizer or diffuser: what to choose?
Here too, it depends on what matters most to you:
- Care more about design? Go for an aquarium diffuser — it looks great in your tank
- Care more about efficiency? Go for an aquarium atomizer — they’re generally more efficient, especially the PlantedBox External Atomizer
Keep in mind that a diffuser needs more maintenance (check my guide for that). An atomizer needs less because it sits right behind your filter. On the flip side, an aquarium atomizer needs a bit more working pressure to push CO2 through the membrane, but with the PlantedBox regulators you’re totally fine!
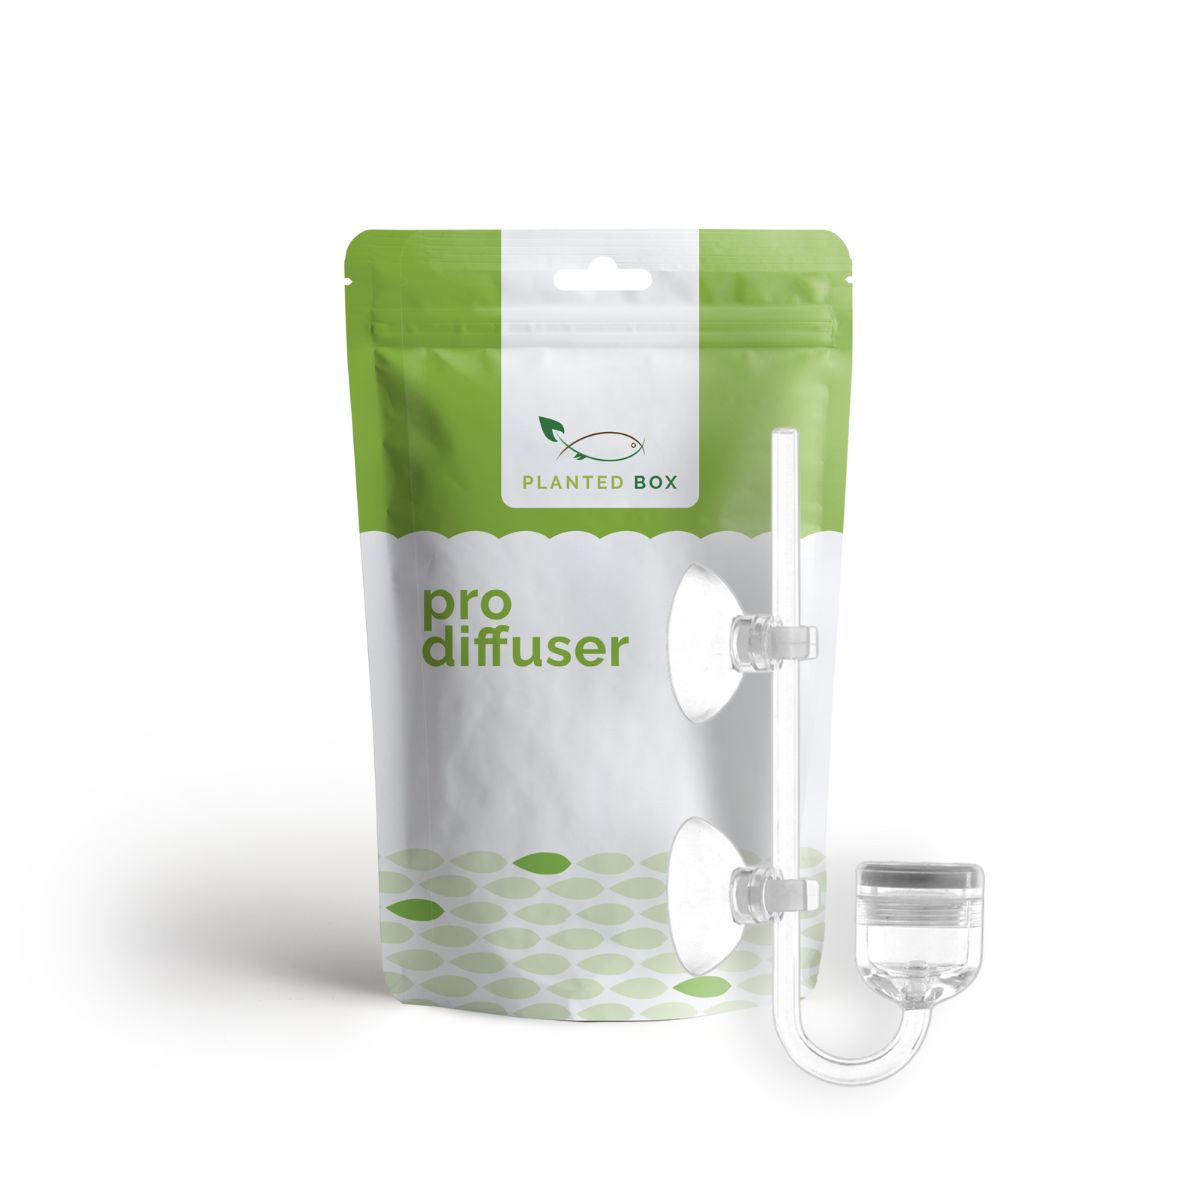
New! We recently released the Pro CO2 diffuser; it looks and works like a regular diffuser, but creates much finer bubbles and is just as efficient as an aquarium CO2 atomizer!
CO2 atomizer cleaning and maintenance: how to do it?
You definitely need to maintain your atomizer if you want to get the most out of your aquarium CO2 kit. I recommend checking once a month to see if the CO2 bubbles have become too large or if there’s dirt inside your filter hoses. If so, here’s what you can do:
- Remove the filter hoses and clean them inside with a pipe brush
- For the Pro Atomizer: take it apart, remove the membrane, and soak it in a bleach-water solution (1 part bleach to 10 parts water)
- For the External Atomizer: soak the whole unit in the same bleach-water mix (1/10 ratio)
- Let it sit for 15–30 minutes
- Rinse the membrane or atomizer well with tap water, brush gently with an old toothbrush or pipe brush
- Then soak it in a solution of water & water conditioner to neutralize the bleach
- After about 15 minutes everything is neutralized and you can reinstall your atomizer!
Do this regularly and your aquarium CO2 injection system will always run super efficiently.
PS: the video below was already shared in my guide about CO2 diffuser cleaning, but you can basically apply the same process to CO2 atomizer cleaning.
Large bubbles with the Pro Atomizer? Here’s the fix…
Sometimes you might get large bubbles with the Pro Atomizer — this often happens when it’s brand new or just installed. The membrane of this atomizer needs some time to soak before reaching maximum efficiency. This can take a few days.
If that still doesn’t solve it, make sure the membrane fits snugly inside the atomizer and that CO2 isn’t leaking from the edges. And of course… keep maintaining the membrane regularly as mentioned above! 🙂
Conclusion
An aquarium CO2 atomizer is a must if you’re not after a fancy design diffuser, but want something efficient and easy to set up. Just remember to clean it regularly — that goes for everything in your aquarium anyway.
You can find my aquarium atomizers here on this page: CO2 atomizers
